Lab 7 Walkthrough
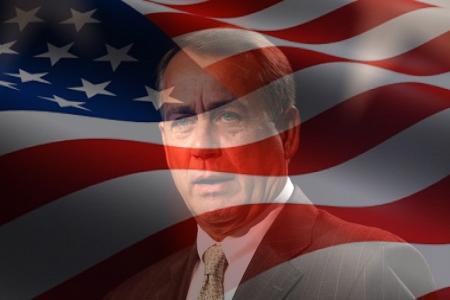
Today we did a lab where we blended two images into one:

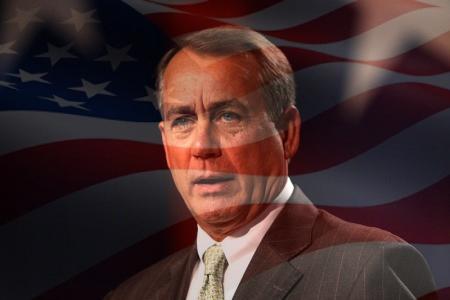
We then modified our function and produced a better blend, giving more weight to the face:
However, the point of this exercise was not really to produce a cool visual effect, as to practice improving our code by making it more general and less specific. Consider our initial function: (empty lines added for readability)
def mixFaceAndFlag():
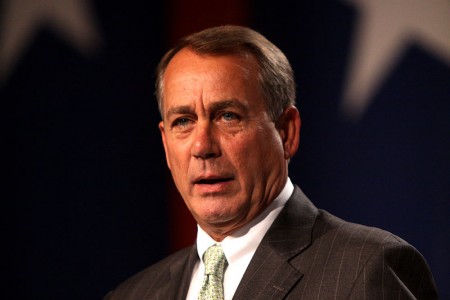
face = makePicture("boehner.jpg")
flag = makePicture("flag.jpg")
canvas = makeEmptyPicture(450, 300)
for x in range(450):
for y in range(300):
pixel1 = getPixel(face, x, y)
pixel2 = getPixel(flag, x, y)
pixel3 = getPixel(canvas, x, y)
r = getRed(pixel1) * 0.5 + getRed(pixel2) * 0.5
g = getGreen(pixel1) * 0.5 + getGreen(pixel2) * 0.5
b = getBlue(pixel1) * 0.5 + getBlue(pixel2) * 0.5
setColor(pixel3, makeColor(r, g, b))
return canvas
This function produces the desired visual effect, but only for two specific images. As such, it is useless in any other context. When you end up with code like this, ask yourself: what do I really want my code to do here? Do I want to blend the photo of the former Speaker of the House with a photo of the american flag? More likely, I want to blend two images. Furthermore, after experimenting with different weights applied to each image, I want to be able to specify the relative weights of these images, so that I can give more emphasis to one or the other.
If we look at our initial solution, we can identify values that are specific to the two pictures we've used so far. Let's replace these with variables that we can pass to our function as arguments. This way, our function definition changes to the following (we'll change its name to something more appropriate as well):
#pic1 and pic2 must be same dimensions, 0 <= ratio <= 1
def blendTwoImages(pic1, pic2, ratio):
  width = getWidth(pic1)
  height = getHeight(pic1)
  canvas = makeEmptyPicture(width, height)

  for x in range(width):
    for y in range(height):
      pixel1 = getPixel(pic1, x, y)
      pixel2 = getPixel(pic2, x, y)
      pixel3 = getPixel(canvas, x, y)

      r = getRed(pixel1) * ratio + getRed(pixel2) * (1 - ratio)
      g = getGreen(pixel1) * ratio + getGreen(pixel2) * (1 - ratio)
      b = getBlue(pixel1) * ratio + getBlue(pixel2) * (1 - ratio)

      setColor(pixel3, makeColor(r, g, b))

  return canvas
Our new function does exactly the same thing as our initial function. However, now it works for ANY two images (of the same dimensions), and it allows us to specify the weight ratio so we can choose which image to emphasize, and to what extent. This makes our function much more useful.
Tips for Lab 6 / Homework 4
Last week we didn't have enough time to discuss the solution for creating a simple collage (four copies of one photo displayed on a larger canvas). Let's try it now.
As usual, we start by considering what exactly our code needs to do. So, we are defining a function that:
- takes a picture as an argument (we'll call it source)
- creates an empty canvas with dimensions that are twice the size of the input picture: x*2, y*2
- iterates over the pixels of the source picture, and for each pixel:
- gets its color
- sets the color of the corresponding pixel on the canvas to the color of the source pixel; and does this four times in different locations.
Since we are dealing with location, we need the x,y coordinates of each pixel - so we use a nested for loop.
Here is one possible solution:
def make2x2(pic):
  width = getWidth(pic)
  height = getHeight(pic)
  canvas = makeEmptyPicture(width*2, height*2)

  for x in range(width):
    for y in range(height):
      color = getColor(getPixel(pic, x, y))
      pixel1 = getPixel(canvas, x, y)
      pixel2 = getPixel(canvas, x+width, y)
      pixel3 = getPixel(canvas, x, y+height)
      pixel4 = getPixel(canvas, x+width, y+height)

      setColor(pixel1, color)
      setColor(pixel2, color)
      setColor(pixel3, color)
      setColor(pixel4, color)

  return canvas
This works fine. However, this limits us to a 2x2 grid. Can we make this function more general? Look at the code inside the for loop: it looks like it has a pattern. Consider the following values for the x,y coordinates for each of the sections of a 2x2 and a 3x3 grid:
| grid | x | y |
|---|---|---|
| 2x2 | x | y |
| x | y+height | |
| x+width | y | |
| x+width | y+height | |
| 3x3 | x | y |
| x | y+height | |
| x | y+height+height | |
| x+width | y | |
| x+width | y+height | |
| x+width | y+height+height | |
| x+width+width | y | |
| x+width+width | y+height | |
| x+width+width | y+height+height |
Do you see the pattern? How about this:
column-1: x + width * 0
column-2: x + width * 1
column-3: x + width * 2
and so on...
The multiplier is the step in your iteration. Thus, you can write a for loop that will generate a grid of any size! Here it is:
def makenxn(pic, n):
  width = getWidth(pic)
  height = getHeight(pic)
  canvas = makeEmptyPicture(width*n, height*n)

  for x in range(width):
    for y in range(height):
      color = getColor(getPixel(pic, x, y))

      for j in range(n):
        for k in range(n):
          targetX = x + width * j
          targetY = y + height * k
          pixel = getPixel(canvas, targetX, targetY)
          setColor(pixel, color)

  return canvas
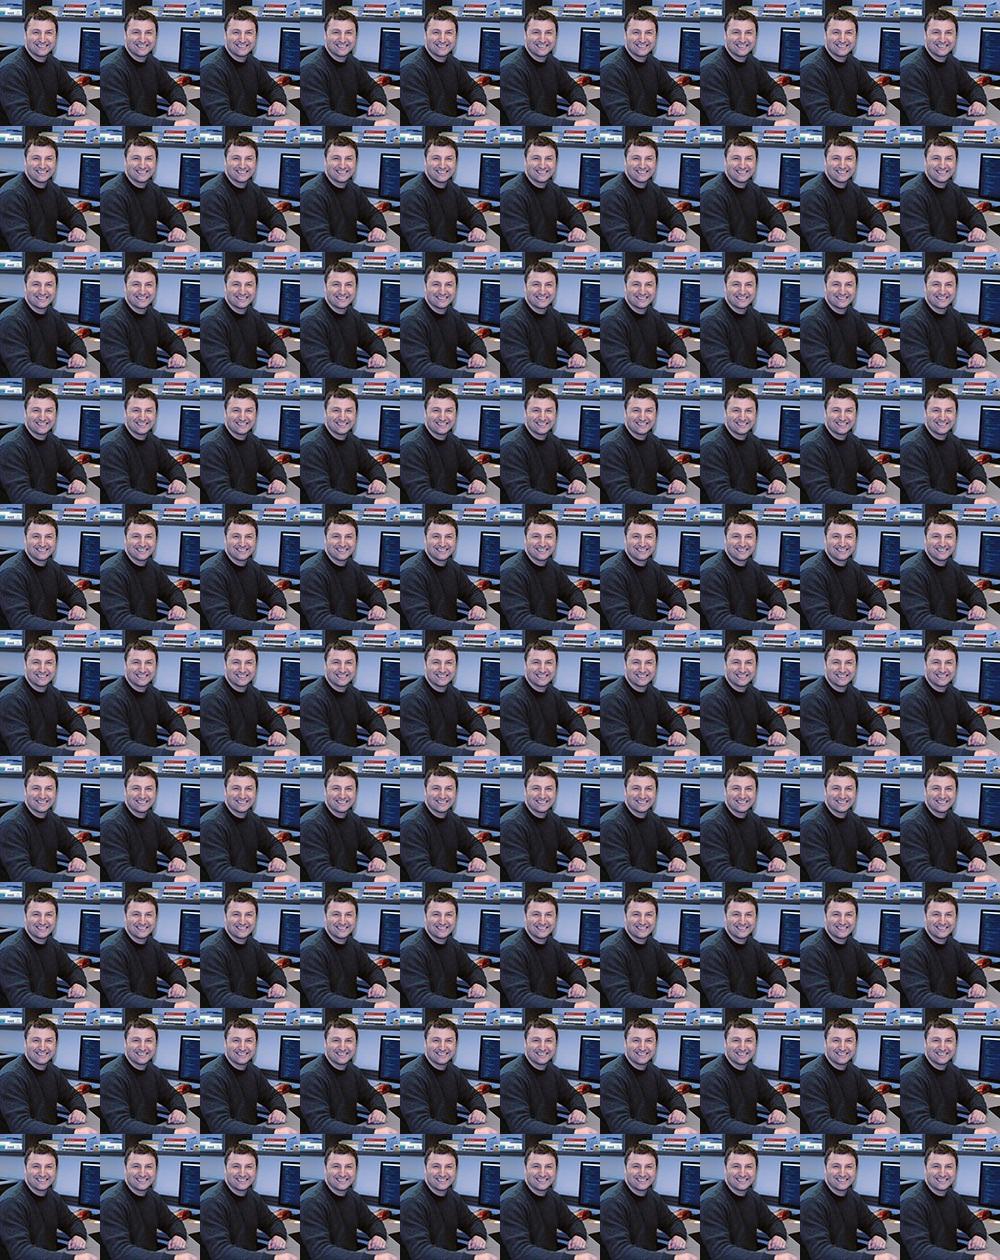
Again, we have taken a specialized function and have changed it slightly, this time with a little help from basic algebra, to handle not only the special case, but any other case. Now we can generate grids of any size, provided JES (and your computer) can handle the computation in reasonable time. Here's a 10x10:
We can take this even further and combine it with the posterizing effect we did in a previous lab. Throw in some random color generation, and you can create visual effects that would take some (unreasonably long) quality time in Photoshop:
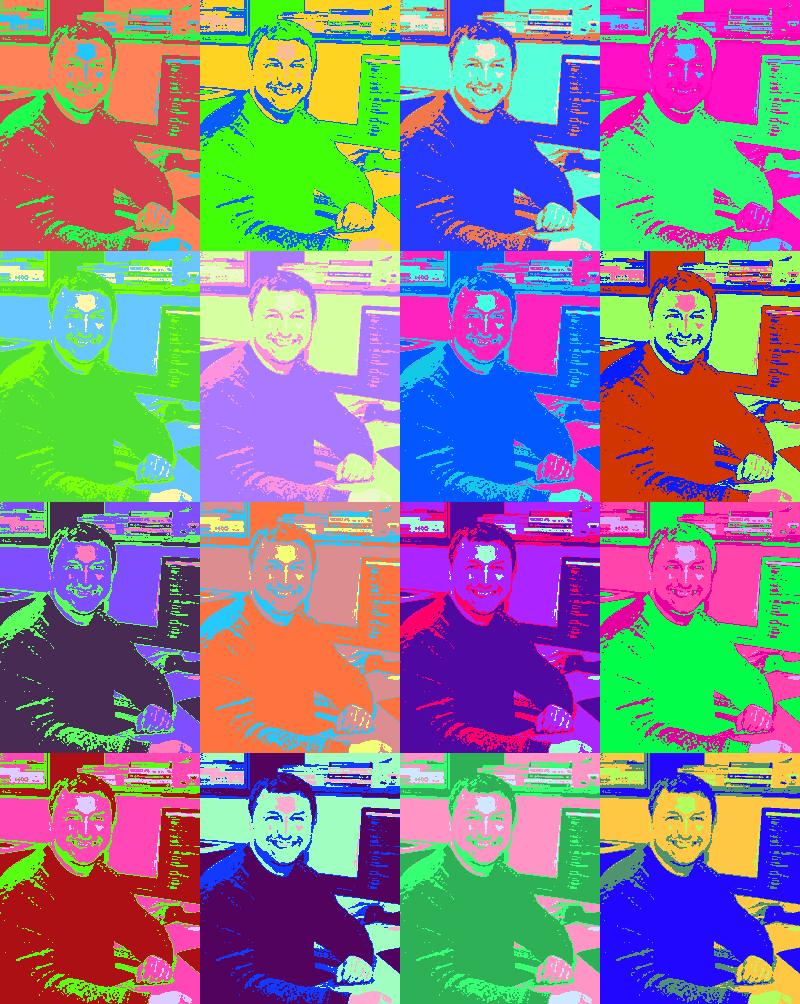
The example above requires the use of a few techniques we haven't discussed yet (random number generation, sorting an array, and using dictionaries), but we'll get to it later this semester. " . $chars[$i] . ""; $j++; } return $html; } ?>